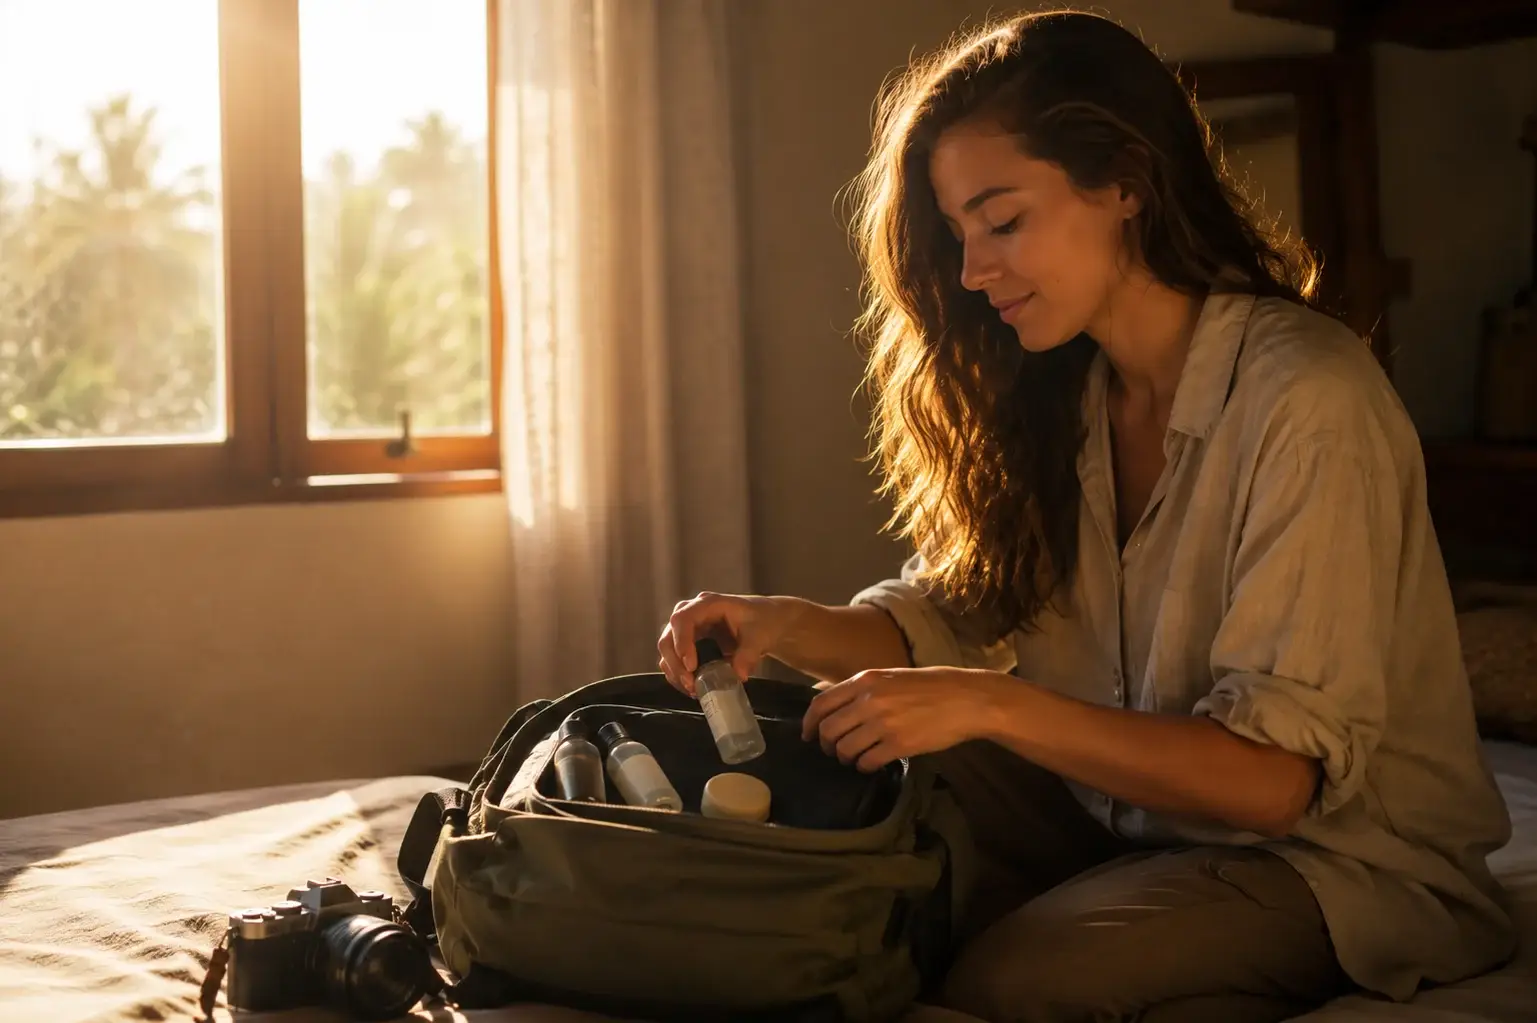
I still remember standing in line at John F. Kennedy International Airport during my very first solo trip. I had just quit my rigid corporate office job in New York. My heart was pounding, my backpack felt like a ton of bricks, and I was terrified of doing something wrong. As a former New York sightseeing guide, I knew how to navigate city streets, but airport security was a whole different beast. When I reached the conveyor belt, a TSA officer pulled my bag aside. Out came my expensive face cream and a brand-new bottle of contact lens solution. Both went straight into the trash because I did not know the rules. I stood there feeling defeated, embarrassed, and completely lacking in travel confidence.
That painful moment taught me a big lesson. Learning how to pack liquids for a flight is not just about following boring government rules. It is about protecting your hard-earned money, avoiding unnecessary stress, and starting your adventure with a calm mind. Whether you are traveling across the United States or preparing your bags for an deep journey abroad, mastering your packing strategy changes everything.
Today, we are diving deep into the exact liquid rules you need to know. We will look at the five biggest mistakes travelers make at the security checkpoint, how to pack your bags like a seasoned pro, and what to do when you have special items. Let us make sure you never have to watch your favorite things get thrown away like I did.
1. The Core Rules: Understanding the 3-1-1 Rule for Carry-On Bags
To pack your bags without fear, you must understand the foundation of airport security. In the United States, the Transportation Security Administration uses a simple standard called the 3-1-1 rule for carry-on luggage. Many international countries follow almost identical guidelines, though they might use metric measurements like milliliters.
Let us break down exactly what those three numbers mean in plain English:
The 3: Container Size Limits
Every single liquid, gel, paste, or aerosol container you bring in your carry-on bag must be 3.4 ounces (100 milliliters) or smaller. This is where many first-time travelers get tripped up. The rule applies to the size of the container, not the amount of liquid left inside it. If you have a large 6-ounce bottle of lotion that is nearly empty, security officers will still confiscate it. The bottle itself must clearly state that its capacity is 3.4 ounces or less.
The 1: The One-Quart Bag
All of your small travel-size liquid containers must fit comfortably inside one clear, plastic, quart-size bag. This bag must have a secure zip-top closure. You cannot use a giant gallon-size freezer bag and fill it halfway. It must be a true quart-size bag, which measures roughly 7 inches by 8 inches. The bag must close easily without ripping or bursting at the seams.
The 1: One Bag Per Passenger
Each traveler is allowed only one quart-size liquid bag in their carry-on luggage. If you are traveling as a couple or a family, you cannot pool your liquids into one person’s massive container. Every individual must have their own separate, compliant bag.
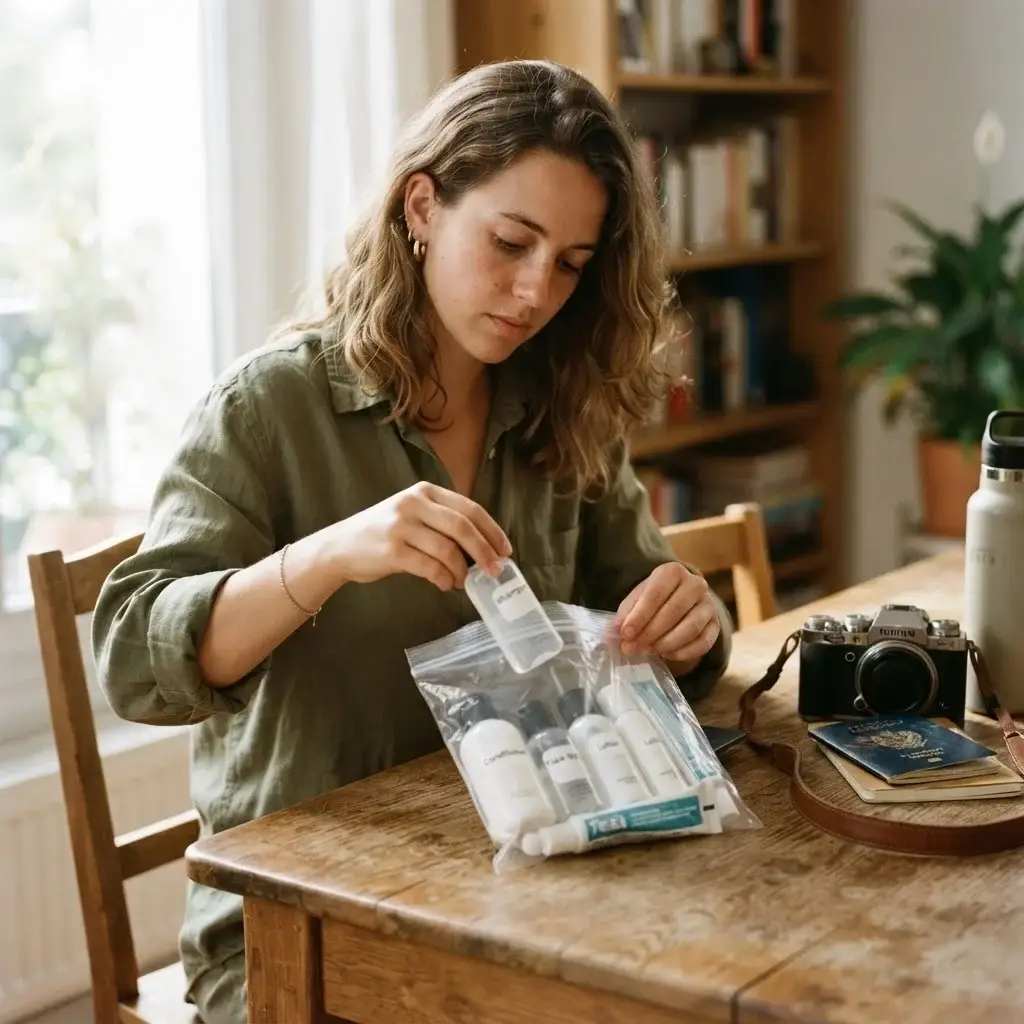
What Counts as a Liquid? Airport security uses a broad definition. A good rule of thumb is that if you can spill it, pour it, squeeze it, spray it, or smear it, it counts as a liquid. This includes toothpaste, peanut butter, liquid makeup, lip gloss, perfumes, hair gels, and even snow globes.
2. Mistake #1: Confusing Container Volume with Liquid Volume
This is the exact mistake that cost me my expensive skincare items on my first big trip. It is the most common error people make at the security gate. You look at a half-empty bottle of high-end shampoo and think, “Well, there are only about two ounces of liquid left in here, so it must be fine!”
Unfortunately, that is not how airport security works. The officers look at the maximum capacity printed on the bottle label. If the bottle says 6 ounces (177 ml), it is going into the trash bin, even if there is only a tiny drop of lotion left at the bottom.
Why Security Cares About the Bottle Size
Airport screening machines are calibrated to scan specific volumes quickly. Officers do not have the time to measure or guess how many milliliters of fluid are left inside a large container. To keep the lines moving and ensure safety, they use a strict, blanket rule on the container itself.
How to Fix This Easily
- Buy dedicated travel bottles: Invest in high-quality, reusable silicone travel tubes that clearly display the “3.4 oz / 100 ml” marking on the side.
- Transfer your products: Squeeze your favorite face washes, lotions, and hair creams into these smaller tubes before you start packing.
- Keep original labels when possible: If you are buying pre-filled travel items from a store, leave them in their original packaging so the security officer can easily read the official factory-printed size label.
3. Mistake #2: Forgetting That Gels, Pastes, and Aerosols Count as Liquids
When people think of liquids, they usually picture water, juice, or liquid soap. But the aviation definition of a fluid is much wider. Many travelers pack their toiletries thinking that thick substances do not count. This confusion leads to a lot of heartbreak at the conveyor belt.
Let us look at a detailed list of common items that people regularly forget to count toward their liquid limit:
| Item Category | Common Examples to Watch Out For |
| Pastes | Toothpaste, thick hair pomade, mud masks, styling clays |
| Gels | Hair gel, shower gel, hand sanitizer, aloe vera gel, jelly-based makeup |
| Aerosols | Hairspray, dry shampoo, deodorant spray, spray sunscreen, shaving cream |
| Spreads | Peanut butter, hazelnut spread, jam, honey, creamy cheeses |
The Aerosol Danger
Aerosols are especially tricky. Not only do they have to follow the 3.4-ounce rule, but they must also have a protective cap over the spray button to prevent accidental spraying during the flight.
If you are packing dry shampoo for a quick refresh after a long flight, make sure you buy the mini travel-size can and keep the plastic lid firmly attached.
4. Mistake #3: Jamming the Plastic Bag Until It Rips
We have all tried to play packing tetris. You have your quart-size plastic bag, and you try to squeeze in one last bottle of sunscreen, a tube of mascara, and a bottle of contact lens solution. The plastic stretches, the zipper splits open, and you use tape to hold it together.
This is a massive red flag for security officers. A ripped, overstuffed, or unzipped bag is technically non-compliant. If the bag cannot seal naturally on its own, an officer can make you choose which items to throw away until the bag zips completely flat.
How to Pack Your Quart Bag Efficiently
To maximize your limited space, you need a smart layout strategy. Do not throw your bottles into the bag in a messy pile. Instead, follow these steps:
- Place the tallest bottles first: Lay your largest 3.4-ounce bottles flat along the bottom of the bag, side-by-side like logs.
- Nest smaller items in the gaps: Tuck tiny items like lip balm tubes, eye drops, or small perfume samplers into the empty spaces between the caps of your larger bottles.
- Choose solid alternatives: The easiest way to save space in your liquid bag is to stop using liquids altogether.
Switching to solid toiletries is a total game-changer for solo travelers who like to move fast and light. When I was backpacking across Europe, I completely stopped carrying liquid shampoo and body wash. Instead, I switched to solid shampoo bars, solid conditioner bars, and bar soap.
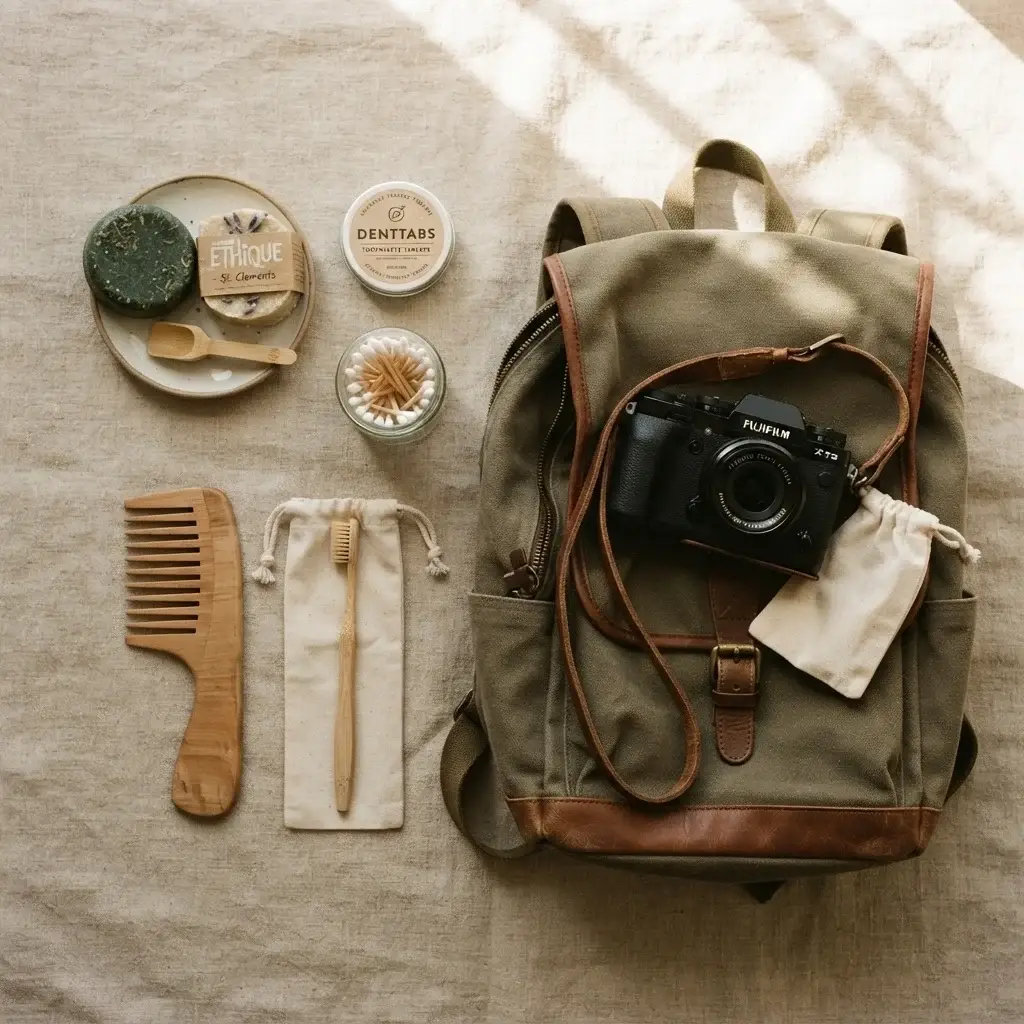
You can also find solid deodorant sticks, solid perfume balms, and even toothpaste tablets that activate when you chew them. None of these items count toward your 3.4-ounce limit, meaning you can leave your quart-size bag completely empty for things that must be liquid, like prescription creams or contact lens fluid.
5. Mistake #4: Burying Your Liquids Deep Inside Your Backpack
Picture this: The airport terminal is packed, the security line is moving quickly, and people are scrambling to put their shoes and belts into plastic bins. You finally get to the front of the line, and suddenly you remember that your liquid bag is packed at the very bottom of your heavy travel backpack, underneath all your rolled-up clothes and jackets.
You have to pull out your clothes, unfold your sweaters, and unpack your entire bag on the dirty airport floor just to find your toothpaste. It is stressful for you, and it causes a major slowdown for everyone behind you.
The Standard Rule for Security Lines
At most standard airport checkpoints around the world, you are required to take your clear quart-size liquid bag completely out of your luggage and place it into a separate plastic bin so the X-ray machine can get a clear view of it. If it stays hidden inside your bag, the machine will flag it, and an officer will have to open your luggage for a manual search.
The Quick-Access Strategy
When you pack your carry-on bag or travel backpack, your liquid bag should always be the very last thing you put in. Place it in an exterior pocket, a top compartment, or right at the mouth of your main bag. When you line up for security, you should be able to unzip one zipper, pull out the liquid bag in two seconds, and lay it flat in the bin.
A Note on Modern Scanners: Some modern airports use advanced CT scanners that allow you to leave liquids and laptops inside your bag. However, these machines are not everywhere. You should always pack your bag assuming you will have to take your liquids out. It is always better to be prepared for the strictest rules.
6. Mistake #5: Forgetting Local and International Variations
When I left my office job to teach English in Thailand and explore Southeast Asia, I quickly realized that every country handles airport rules just a little bit differently. Assuming that every airport operates exactly like the ones in your home country is a major mistake that can result in lost items or delayed flights.
While the basic concept of the 100-milliliter limit is mostly universal, the way it is enforced varies wildly. For example, some international airports do not allow you to use your own clear ziplock bags. They will force you to use their own specific, branded plastic bags provided at the entry of the security line. If your items do not fit into their specific bag, you will have to leave something behind.
Navigating International Destinations Safely
If you are flying between different countries, you also need to think about what happens after you clear security. If you buy a large bottle of local hot sauce or alcohol at a duty-free shop inside an airport terminal, it will be sealed in a special secure bag. But if you have a layover in another country and have to clear security again to catch a connecting flight, that country’s officers might not honor the duty-free bag, and they may confiscate your liquid purchase.
Whenever you plan an international journey, it is incredibly important to research the specific entry, transit, and health guidelines of your destination country. I always make it a habit to review the official safety ratings and entry rules provided by the US Department of State Travel advisory network before booking international flights. Knowing these rules ahead of time helps you understand what to expect at foreign border checkpoints and ensures your transitions are completely smooth.
7. The Medical and Dietary Exceptions: What is Actually Allowed?
Now that we have covered the strict rules, let us talk about the very important exceptions. Many travelers suffer through discomfort or leave essential items behind because they think the 3-1-1 rule applies to absolutely everything. Fortunately, international aviation authorities are reasonable when it comes to human health, medical needs, and childcare.
You are allowed to bring liquids, gels, and aerosols that exceed 3.4 ounces if they fall into the categories of necessary medical liquids or infant nourishment.
Medically Necessary Liquids
If you have a medical condition that requires liquid medication, you are not bound by the 3.4-ounce limit. This includes items such as:
- Prescription liquid medications, cough syrups, or eye drops.
- Insulin, syringes, and auto-injectors.
- Inhalers for asthma.
- Special liquids or gels needed for diabetic care, such as glucose juices or gels.
- Contact lens solution (this is considered an over-the-counter medical liquid, though large bottles may require extra screening).
Baby and Infant Nourishment
If you are traveling with a baby or a toddler, you can bring breast milk, distilled water for baby formula, baby food jars, and juice boxes that are larger than 3.4 ounces. These items are considered medically necessary for the child’s well-being. The child must be present with you during the screening process, or you must declare the breast milk to the officers for specialized testing.
How to Declare Your Exceptions Without Stress
To ensure your medical or baby items pass through security without an issue, do not hide them inside your standard quart-size toiletry bag. Follow this clear step-by-step process:
- Keep them separate: Place all medical liquids, formulas, and baby foods into a separate small pouch or bag within your luggage.
- Tell the officer immediately: As soon as you reach the security conveyor belt, look at the nearest TSA officer and say, “I have medically necessary liquids” or “I have breast milk and baby food that need to be declared.”
- Place them in their own bin: Take these items out of your main luggage and put them into a plastic bin by themselves so the officers can perform separate manual testing or use specialized liquid explosive sensors on them.
8. Packing Checked Bags vs. Carry-On Bags
If you simply cannot live without your full-size bottles of lotion, specialized hair care creams, or local culinary liquids like olive oil or wine, you will need to put them into your checked luggage. The strict 3-1-1 rule applies only to carry-on baggage that you walk with through the security checkpoint. Inside your large checked suitcase underneath the airplane, you can pack as many full-size liquids as you want, as long as they meet the airline’s total weight limits.
However, packing liquids in checked luggage comes with its own unique risks. The cargo hold of an airplane experiences dramatic changes in air pressure and temperature during a long flight. This pressure change causes the air inside your plastic shampoo bottles to expand. If a bottle is completely full, that expanding air will pop the lid open, squeezing liquid out all over your clean clothes, jackets, and shoes.
How to Leak-Proof Your Checked Suitcase
To protect your wardrobe from a soapy or sticky disaster, use these simple, practical traveler tricks:
- The Plastic Wrap Trick: Unscrew the cap of your liquid bottle. Place a small piece of plastic kitchen wrap tightly over the open neck of the bottle, then screw the plastic cap back on over the wrap. This creates a double seal that prevents liquid from escaping even if the lid pops open.
- Leave room for air: Never fill a travel bottle completely to the very top line. Always leave about a half-inch of empty space at the top of the bottle. This gives the air inside room to expand safely during the flight without bursting the bottle walls.
- Double bag everything: Place your individual bottles inside a sealed ziplock bag, then put that bag inside another sealed bag. If a leak does happen, the mess will stay completely contained inside the plastic layers instead of soaking into your clothes.
9. Destination Prep: Buying Local vs. Packing Everything
One of the greatest milestones of building your solo travel confidence is realizing that you do not need to pack your entire bathroom to go on a trip. When I first started traveling, I used to worry about running out of my specific brands of soap or lotion while far away from home. But as I spent more time traveling the world, living with local families, and exploring remote villages, I realized that shopping for toiletries locally is actually one of the most fun and immersive ways to experience a new destination.
The Joys of Local Toiletries
When you land in a new country or city, make it a point to visit a neighborhood grocery store, an open-air market, or a local pharmacy instead of rushing to find a massive western retail chain. You will discover incredible local products that are perfectly suited for the environment you are visiting.
For example, if you are planning an extended trip through Southeast Asia, do not weigh down your bags with giant bottles of heavy, oily moisturizers from home. Instead, wait until you arrive and try lightweight, refreshing aloe vera gels and coconut-based products that locals use to stay comfortable in the intense tropical humidity.
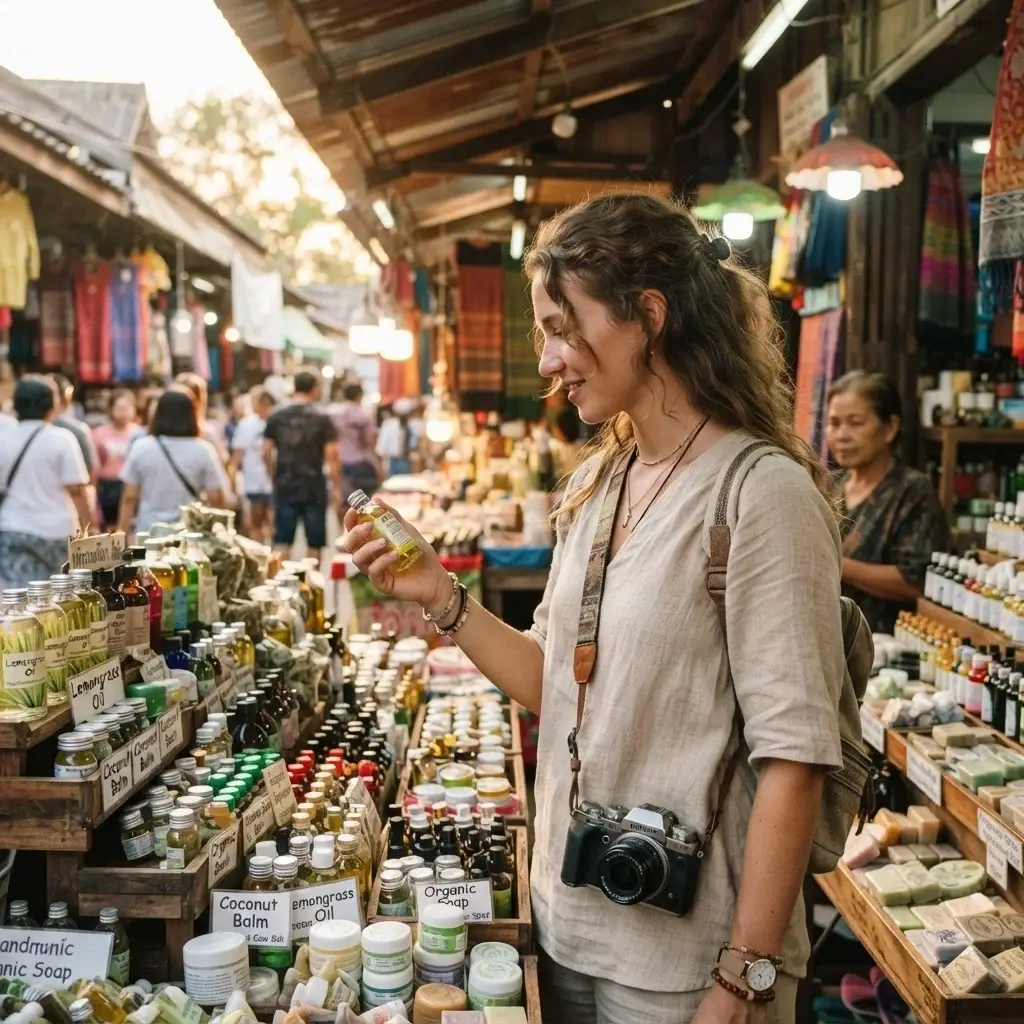
Before diving into a new culture, it is highly useful to read general country profiles to understand local customs and regional packing requirements. I often consult the comprehensive destination guides on Lonely Planet’s travel destination hub to get a feel for the local infrastructure and see what kinds of markets and resources will be available to me once I touch down.
Balancing Health and Adventure
While buying local items is a fantastic way to immerse yourself in a new environment, you must always balance adventure with basic health precautions. This is especially true when it comes to packing things like bug sprays, sunscreens, or travel first-aid items.
Depending on where you are traveling, the local insects might carry unique regional illnesses. To make sure you are packing or buying the right protective items, it is wise to check the medical recommendations provided by the CDC Travelers’ Health destination index. They offer excellent, real-time advice on what types of insect repellents or specialized skin protections are necessary for specific countries, helping you stay completely safe and healthy on the road.
10. Packing Your Liquids Checklist
To help you get ready for your next big journey without any stress or worry, here is a quick, handy checklist you can use while packing your carry-on luggage at home:
- [ ] Check the Bottles: Every liquid container is 3.4 ounces (100ml) or smaller, with the size clearly printed on the original label.
- [ ] The Liquid Test: All gels, pastes, creams, and aerosol cans are counted as liquids and placed together.
- [ ] The Bag Size: Everything fits comfortably inside a single, clear, one-quart ziplock bag.
- [ ] The Smooth Zip: The plastic bag seals completely shut without stretching, ripping, or requiring tape.
- [ ] Top Packing: The clear liquid bag is packed at the very top of your backpack or carry-on suitcase for immediate access.
- [ ] Separate Medical Items: Any large-volume prescription medications, contact solutions, or baby milks are packed in a separate pouch, ready to be declared to the security officers.
Final Thoughts: Moving Beyond the Fear of Airport Lines
It is completely natural to feel a little bit anxious when you are preparing for a flight, especially if you are traveling solo or heading to an unfamiliar corner of the globe. The security line can feel cold, rushed, and intimidating. But remember: airport security rules are just a set of steps that anyone can learn and master with a little bit of preparation.
By taking the time to audit your bottles, organize your quart bag, and avoid the common mistakes we discussed today, you are taking complete control of your travel experience. You are shifting away from the stress of the unknown and stepping into the confidence of a capable, independent explorer.
The world rewards curiosity and courage. Do not let the fear of a small plastic bag keep you from experiencing the personal growth, deep cultural connections, and unforgettable moments that await you out on the open road. Pack smart, stay curious, and have an amazing journey!